Editing a layer's table of attributes
Adding a record
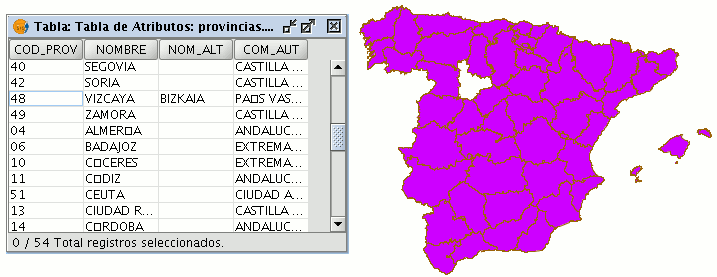
To add a new record to a table associated with a layer, a graphic element must be inserted. When an element is added to the associated table a new blank record appears.
Enter the data for the new entity and press “Enter”.
N.B.: Remember that if you wish to delete the selection, you can go to the tool bar and click on “Clear selection” or you can use the menu bar by clicking on the “Layer” menu and then on “Clear selection”.

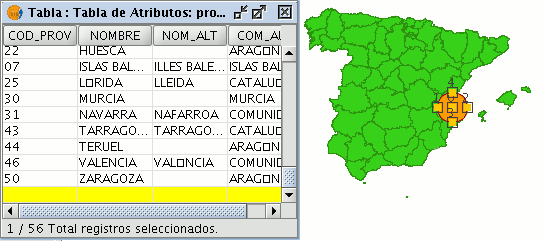
N.B.: You can create a new layer with the elements selected in the table if you wish. To do so, close the table, go to the menu bar and click on the “Layer” option and then on “Export to ...”. Then select the format you wish to create the new layer with.
Modifying a record
To modify the data of a layer element saved in the table, select the element whose data you wish to modify. The record that corresponds to the selected graphic element is highlighted in yellow in the table of attributes.
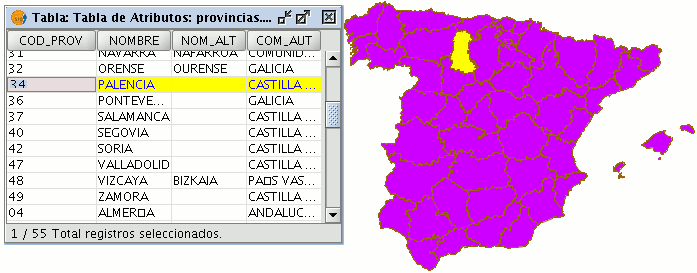
Left click on the cell in which the record to be modified is located. The record changes and a cursor appears to indicate that the data can be input.

Removing a record
To remove a record from the table, you must first select the record.
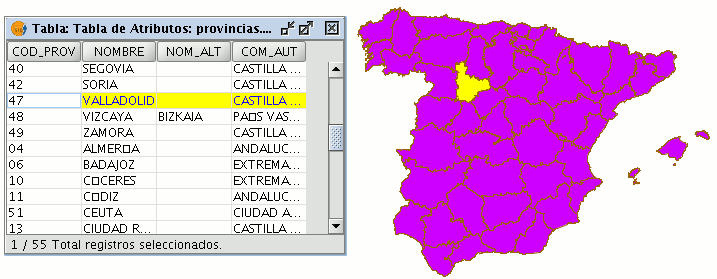
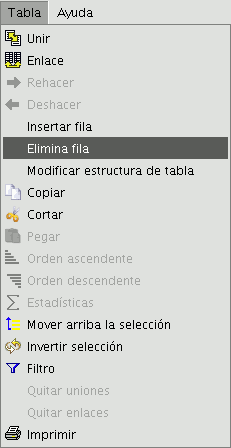
Go to the “Table” menu and select “Remove row”.
The selected record is deleted from the table and the associated graphic element disappears from the view.